View Builder
[TOC]
What is the View Builder
The View Builder is a tool in DGS used to create and edit [views]( ). It is located in the [tree]( ) of all sites.
User should have Report_View_Builder permission to access View Builder.
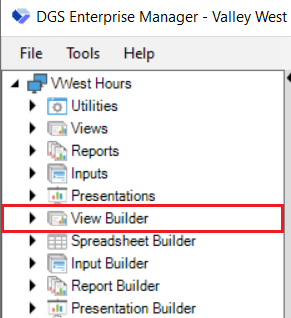
If the builder does not show up then the required permissions have not been set.
Why use a View over a Report
A view has a lot of similarities to the [Reports]( ) in DGS, its main function is to display data to the User in an easy to read format.
The main feature that differs Views from [Reports]( ) is the fact that views show mainly live data by auto-updating itself (Ex. Viewing Production from the currently running shift.). Although this is highly configurable.
Because the data on a view is live and periodically refreshed the user will not have access to a [shift selector]( ). However many of the [Reports]( ) that allow a user to view historical data can be accessed from a view with the use of buttons. Buttons can be placed anywhere on a View and can trigger many user activated actions including, opening a [Report]( ), opening an Input, opening a Schedule, or switching to another View or DGS module.
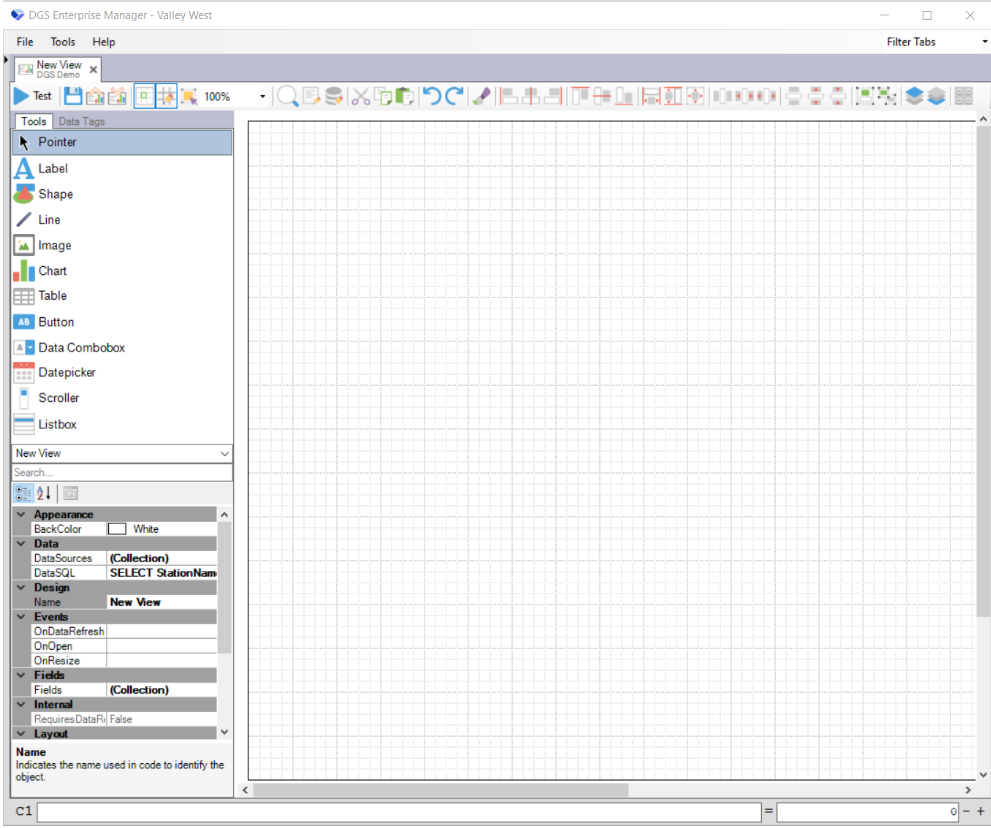
View Builder Body
When creating a new view, the body of the view will look like this:
- The Header is located at the top of the view page.
- The Detail Section is used for most of the content on the view.
- The Footer Section is located at the bottom of the view
- The two hidden sections are for storage/maintenance purposes, and serve no actual purpose to the look of the view.
View Builder ToolBar
The View Builder Toolbar has a variety of tools to use. It is found under the [tabs]( ) section when a builder is open.

Each tool is described below :
| Icon | Name | Description |
|---|---|---|
 |
Test | Using this button allows testing of what has been made in the Report Builder. Once pressed, it is replaced with a close button which cancels testing and returns to the builder. |
 |
Save | Use of this button saves all changes made to the report. |
 |
Export | Using this button Exports the report into a .vwr file. |
 |
Import | Using this button imports, a .vwr file into the builder. |
 |
Snap to Grid | Using this button allows each field to snap to the Grid on the builder section. When it is highlighted blue it is turned on. |
 |
Show Grid | Using this button shows or hides the grid. When the button is highlighted blue the grid will show. |
 |
Switch to Intersect selection mode | Using this button allows to switch between intersection selection mode and full selection mode. |
 |
Page zoom | Using this button allows to zoom into the report builder page. |
 |
Search Report | Use of this button allows for a search to the entire report (Query, Data fields, Labels) for specific lines/words. |
 |
SQL Editor | Using this button allows us to go in the query window to create, modify and delete query for the report. |
 |
Cut | Use of this button cuts the current selected field and copies it to the clipboard. |
 |
Copy | Use of this button copies the current selected field to the clipboard. |
 |
Paste | Use of this button pastes what is currently copied to the clipboard. |
 |
Undo | Use of this button reverses the last change made. Can be used multiple times. |
 |
Redo | This button steps forward after going back too far with undo. |
 |
Apply style to Selected | This button applies all of the same styles of one field to another field. |
 |
Align Left | Use of this button aligns all boxes left sides. |
 |
Align Center (Horizontal) | Use of this button aligns all boxes centers Horizontally. |
 |
Align Right | Use of this button aligns all boxes rights. |
 |
Align Top | Use of this button aligns the tops of all boxes selected. |
 |
Align Middle (Vertical) | Use of this button aligns all boxes centers vertically |
 |
Align Bottom | Use of this button aligns the bottoms of all boxes selected. |
 |
Same width | Makes all selected boxes the same width. |
 |
Same height | Makes all selected boxes the same height. |
 |
Same size | Makes all selected boxes the same size. |
 |
Equal horizontal spacing | Makes all selected boxes the same distance apart horizontally. |
 |
Increase horizontal spacing | Makes all selected boxes distance increase between them horizontally. |
 |
Decrease horizontal spacing | Makes all selected boxes distance decrease between them horizontally. |
 |
Equal vertical spacing | Makes all selected boxes the same distance apart vertically. |
 |
Increase Vertical Spacing | Makes all selected boxes distance increase between them vertically. |
 |
Decrease vertical spacing | Makes all selected boxes distance decrease between them vertically. |
 |
Group Selected | Group's the datatags and charts together. |
 |
Ungroup | Ungroups the selected grouping. |
 |
Bring to Front | Brings the selected field to the front layer of the report. |
 |
Send to Back | Send the selected field to the back layer of the report. |
 |
Create Component | For Testing |
View Builder Tools/Data Tags Tab
The View builder has Two tabs, labelled as Tools and Data Tags.
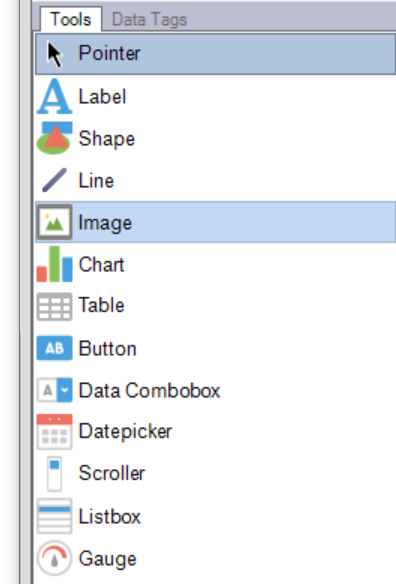
Tools Tab
The tools tab has all the tools necessary to build the front end of the view. Links to each tool and their use is below.
| Icon | Name | Description |
|---|---|---|
 |
Pointer | Used to point the cursor. |
 |
Label | Used to create Labels. |
 |
Shape | Used to create Shapes. |
 |
Line | Used to create a Line. |
 |
Image | Used to import images from local system. |
 |
Chart | Used to create charts. |
 |
Table | Used to create tables. |
 |
Button | Used to create a button. |
 |
Data Combobox | Used to create a combo dropdown box. |
 |
DatePicker | Used to create a dropdown for date selector. |
 |
Scroller | Used to create a scroller for multiple data in the lists |
 |
Listbox | Used to create a list of data. |
 |
Gauge | Used to create Gauge. |
Data Tags Tab
The data tags tab allows for easy access to items selected out in the query. Clicking and dragging one of the fields to the report will put the field on the builder. If the “Add Label” button is pressed, it will add a label with each datatag.

Data Source of the Viewer
Clicking the SQL Editor will open up the Query Editor. This is where the data is selected for the view.
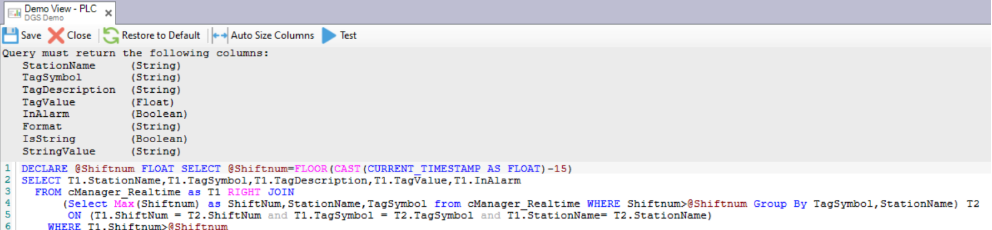
To create a view without using sub-reports, StationName, TagSymbol, TagDescription, TagValue, InAlarm must be selected out.